How to use an external drive with a Chromebook
Chromebooks are built with cloud storage in mind and offer a pittance of local storage -- usually only 32GB or 64GB. So, instead of storing a bunch of Word docs and Excel files on a Chromebook, for example, you are meant to use Google Drive or Dropbox. Instead of a large music library stored locally in iTunes, you are meant to use Google Play or Spotify. Same deal with photos -- instead of storing photos locally, Google Photos, Flickr or another cloud service.
Chromebooks feature USB ports and SD card slots, however, which let you connect to external storage devices for those times when you need to access a file that you have saved not to the cloud but an external hard drive, thumb drive or SD card. When you connect an external drive or SD card to your Chromebook, however, nothing happens. You won't see a helpful prompt or a new desktop icon that, A. lets you know the system has recognized whatever it is that you connected to it, and B. provides a quick way to view its contents.
Using an external storage device with a Chromebook takes a little more work on your part. I'll show you how to view and download files on an external drive and which types of files types and file systems Chrome OS can recognize.
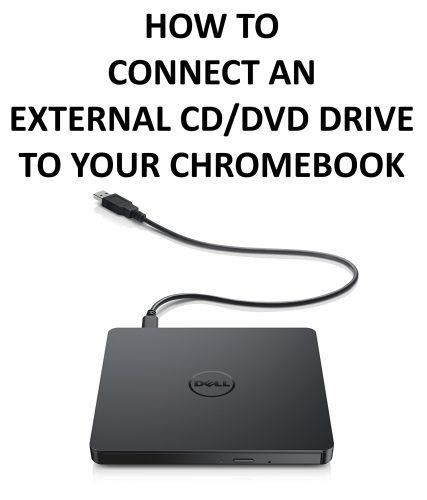
Chrome OS supports a wide range of file systems for external drives. It can read and write to the NTFS file system that Windows PCs use, read (but not write to) the HFS+ file system that Macs use, and cross-platform FAT16, FAT32 and exFAT file systems. It also supports the MTP file system used by digital music players and ISO9660 and UDF used by CDs and DVDs.
According to Google, these are the types of files Chrome OS supports:

When you connect an external storage device to a Chromebook, you'll need to do a little legwork to access its contents. Click the Launcher button in the lower-left corner of your Chromebook's display and then click the Files app.If you don't see it listed, it means you haven't used it recently and will need to click All Apps and find the Files app listed among all of your Chromebook's apps.
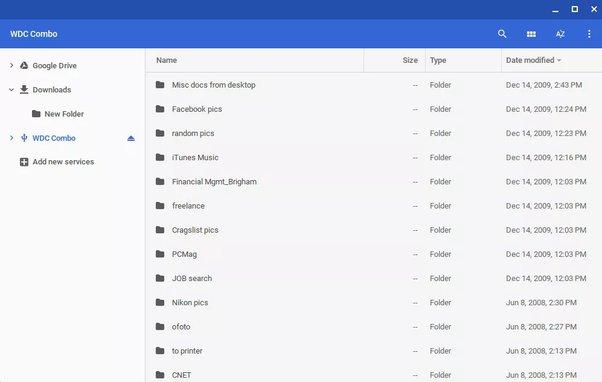
With the Files window opened, in the left panel you should see your external drive listed directly below the Downloads folder. Just as you can in Windows Explorer on a PC or Finder on a Mac, you can view the drive's folders and files here. Just double click a file to open it.
If you want to move a file from an external drive to your Chromebook, you have two options: drag and drop or copy and paste.
The Downloads folder is where all of your Chromebook's local files are stored. You can copy a file from the drive to your Chromebook by dragging it from the external drive and dropping it on the Downloads folder listed in the left panel. You can select multiple files by clicking the tiny, circular thumbnail to the left of the file name; the thumbnail turns into a blue checkmark icon to indicate it's been selected.
The other option is to copy a file by right-clicking and choosing Copy or using keyboard shortcut Ctrl-C, opening the Downloads folder, and then pasting by using the right-click menu or Ctrl-V.
You can also choose to cut instead of copy, of course, if you want to move the file instead of just copying it. You can also move in the reverse direction and move files from your Downloads folder to your external drive (or Google Drive) to free up drive space on your Chromebook.
Like Windows and MacOS, ChromeOS will scold you if you remove a drive before ejecting it. To eject a drive, click the little eject button to the right of it in the left panel of the the Files window.
Receive expert tips on using phones, computers, smart home gear and more. Delivered Tuesdays and Thursdays. CommentsLaptopsChrome OS GoogleNotification on Notification off How To}})